
Monte Carlo Path Tracer
Posted on May 20, 2019
C++
OpenGL
QT Creator
For my final project in CIS 561 (Physically-based Rendering), I created a Monte Carlo Path Tracer.
Actually, it was a semester-long project, but the final project was where I got to freely
explore into parts of building a renderer that I was interested in. If you're new to ray casting/rendering,
I would watch this video from Disney to make more sense of this post.
The whole project boils down to the Light Transport Equation (LTE), which I referenced religiously
throughout the process:
Lo(p, ωo) = Le(p, ωo) + ∫_s f(p, ωo, ωi) Li(p, ωi) V(p', p) |dot(ωi, N)| dωi
I also referenced Physically-based Rendering: From Theory to Implementation, which is a great resource with clear explanations of almost every concepts you may need to start a renderer from scratch.
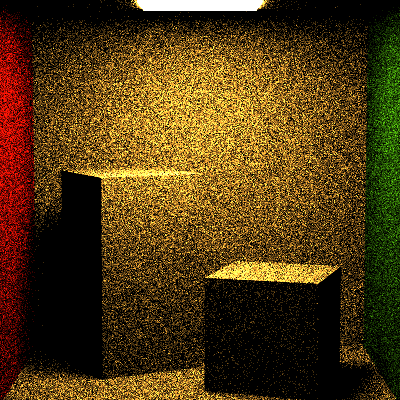
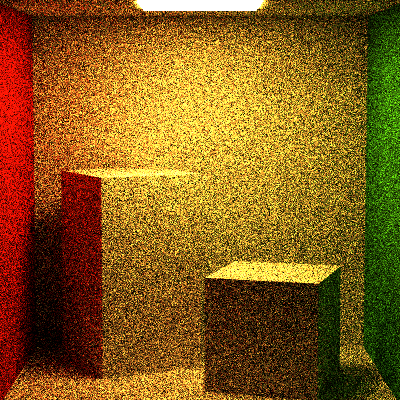
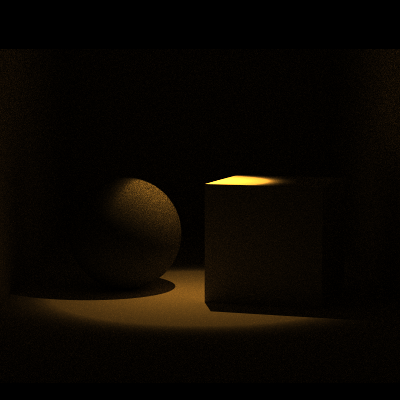
I started with a naive implementation of the equation which just evaluate the Light Transport Equation at every bounce of a ray from the camera and recusively calls it on each bounce (as you can imagine, this would take very long to render each image). Below are some results and some metrics that I recorded:
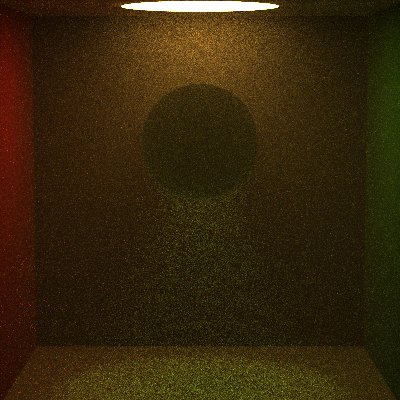
Later, I used various optimization methods to reduce the runtime of the renderer while preserving or even augmenting the quality of the results. Although bouncing the rays may help us acheive a global illumination feel (which simply means objects near each other reflects light and bounces off to another object, thereby casting its color onto that other object), it might be worth trying a direct lighting approach, which eliminate the need for bouncing and only evaluates the LTE once per ray. This method required no recursion and only counted rays which are visibible to light sources. This technique also extends rays from light sources into the scene (instead of just from the camera into the scene).
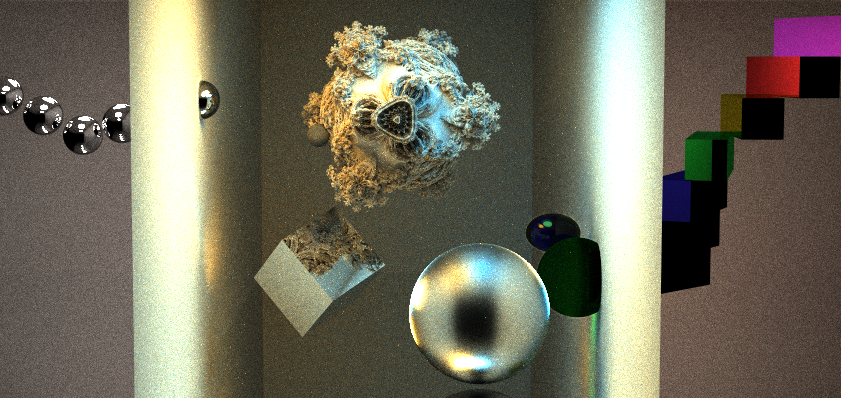
Now, not having global illumination may be a big sacrifice, especially for those who are trying to achieve super realistic renders. In this case, I explored another method which takes the direct lighting technique and turns it up a notch, incorporating ray bounces while maintaining a reasonable runtime. This method is called Multiple Importance Sampling (MIS). MIS uses something called the Russian Roulette trick, which terminates a fraction of rays from continue to bounce after a certain number of iterations, and increases the influence of rays that bounces more to account for early terminated rays. MIS effectively shave off runtime while minimizing variation from the actual result.
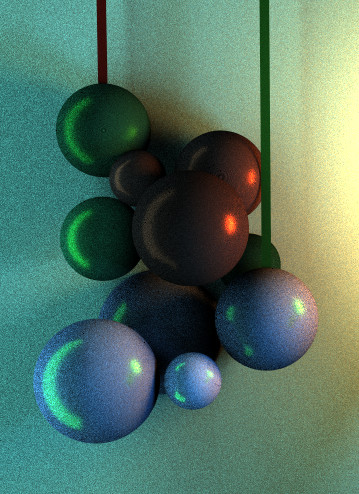
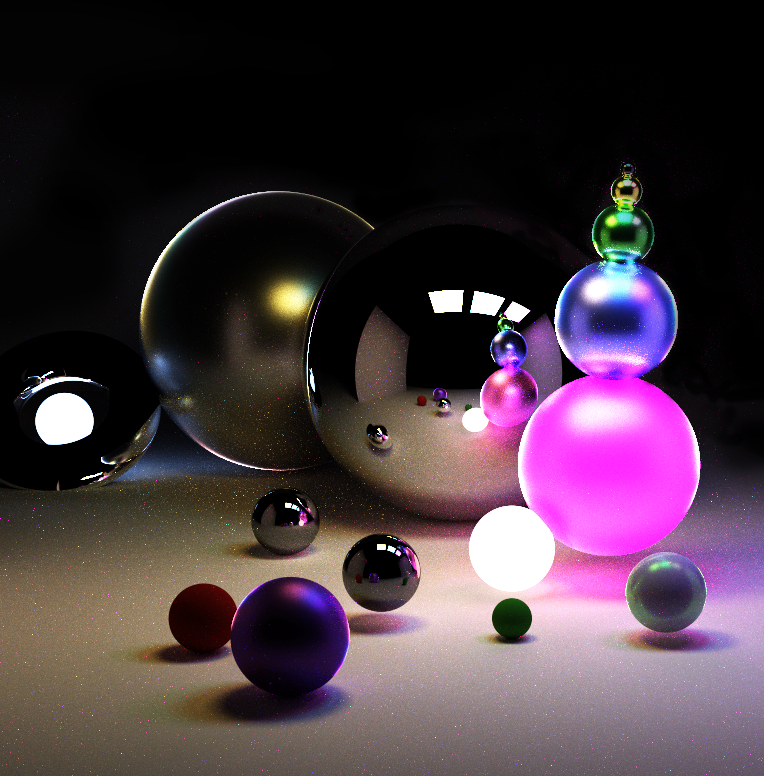
For the final sections of the project, I decided to implement yet again another variation of the rendering methods from before. This time, I integrated support for volumetric substances, such as fog and smoke. This is very similar to MIS from before, only treating the ray intersecting the scene a little differently. Rays from the camera now intersect both solid objects and particles that represent the substance distributed throughout the space. I kept it simple and only considered homogeneous particles, which makes use of Beer's Law to generate a uniform distribution throughout the scene. The great thing about these particles is that they interact with light and transparant objects in interesting ways, as seen below with the green sphere with a bidirectional scattering distribution function involving transmittance.
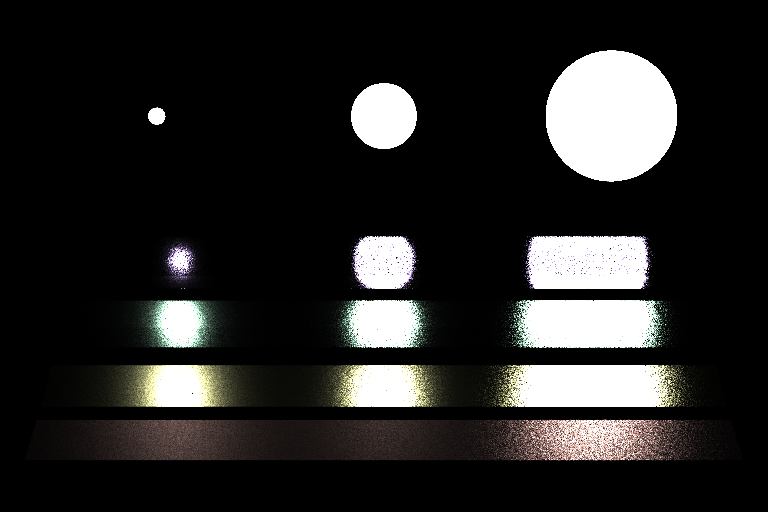
There were lots of other smaller features such as Bidirectional Scattering Distribution Functions that we implemented like microfacet and Oren-Nayar, just to name a few. Coding a renderer from scratch was a huge learning opportunity for me, both to get to the niddy gritty C++ styles and practices that I overlooked, to how rays actually interact with objects, to shadows and many others. If you're interested, I highly recommend starting with Physically-based Rendering book. Other resources include this Ray Tracing in One Weekend series, where the author goes through building a super condensed version of prbt. I'm moving on to real-time ray-tracing, so wish me luck! I'll write about this in another project post so stay tuned...