
5 Useful Unity Features for Beginner Game Developers
Posted on Jul 23, 2020
5 handy Unity features that can set your game apart and make your life a lot easier!
Introduction
I recently got a chance to play on my first gaming console — Nintendo Switch — and have been amazed by the gameplay and graphics of every game I played. Growing up I didn’t have access to consoles, so I played mostly online, short games on a desktop. Being able to play games that have a developed story, an open world, or unique character movements inspired me to start learning how to make my own game.
I started by watching Youtube videos of people talking about making their own game for the first time to get some advice and direction. I came across Jimmy Vegas in the process and saw that he has extensive tutorials on how to create a game for beginners.
I would highly recommend starting with his beginner series as a starting point. He goes through every major game development concepts in a very easy-to-follow fashion.
As I developed my game, I found that there are a couple of tools I didn’t know exist in Unity (I have some prior non-game experience with Unity). These tools came in super handy as I advanced in my development.
Walkable Area Navigation Tool
This tool makes so much sense to have yet it was completely out of my radar until I came across it in Jimmy’s tutorial series. When having walkable agents like enemies in a game, it is useful to have the enemy walk around on the terrain. In order for the enemy to not constantly bump into trees or walk up a steep hill, we need a way to determine the areas that are “walkable”. This is where this tool comes in handy.
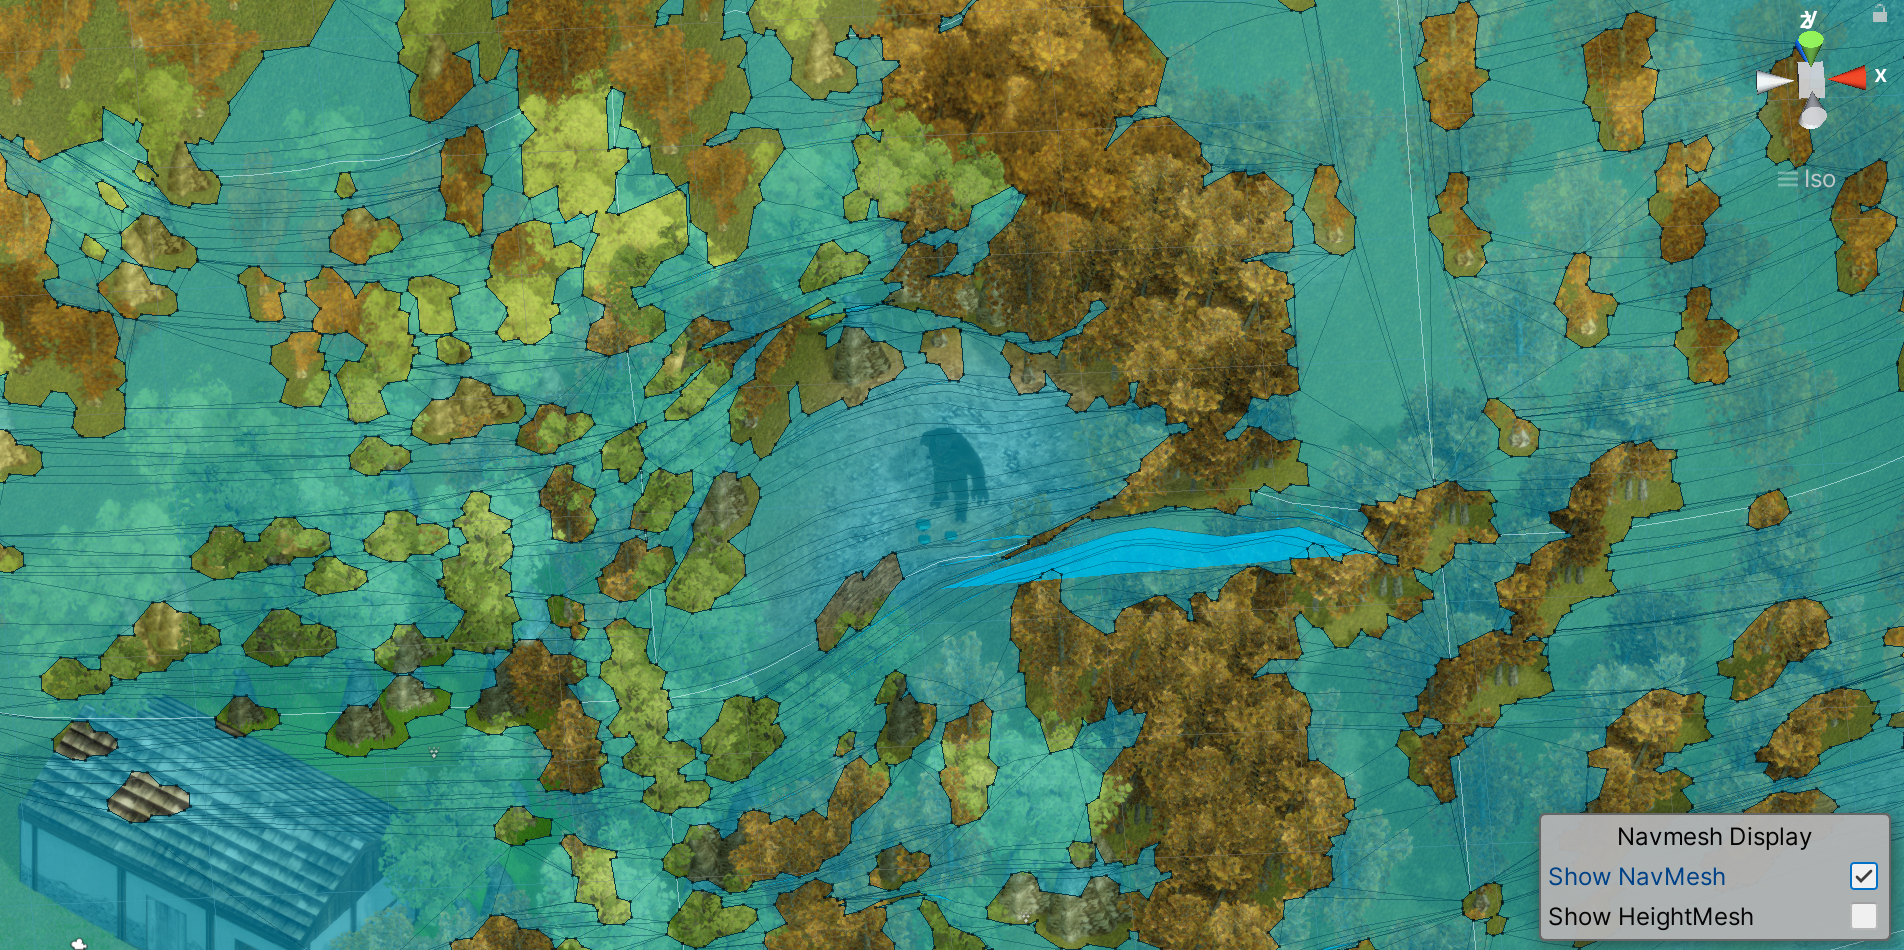
To access this tool, you can go to Windows → AI → Navigation. The Navigation panel will show on the right where the Inspector panel is normally. While your terrain is selected, go to “Bake” and click on Bake. There will be a slight loading time (progress can be seen at the bottom right of the window) when the application calculates walkable areas (areas without trees and other terrain assets with colliders, areas of a certain elevation, etc.).
Terrain Tree Paint
Just thinking about placing individual trees on the terrain makes me feel exhausted. The terrain tree painting tool is one of those tools that save you more time than you can imagine when developing nature-ry games.
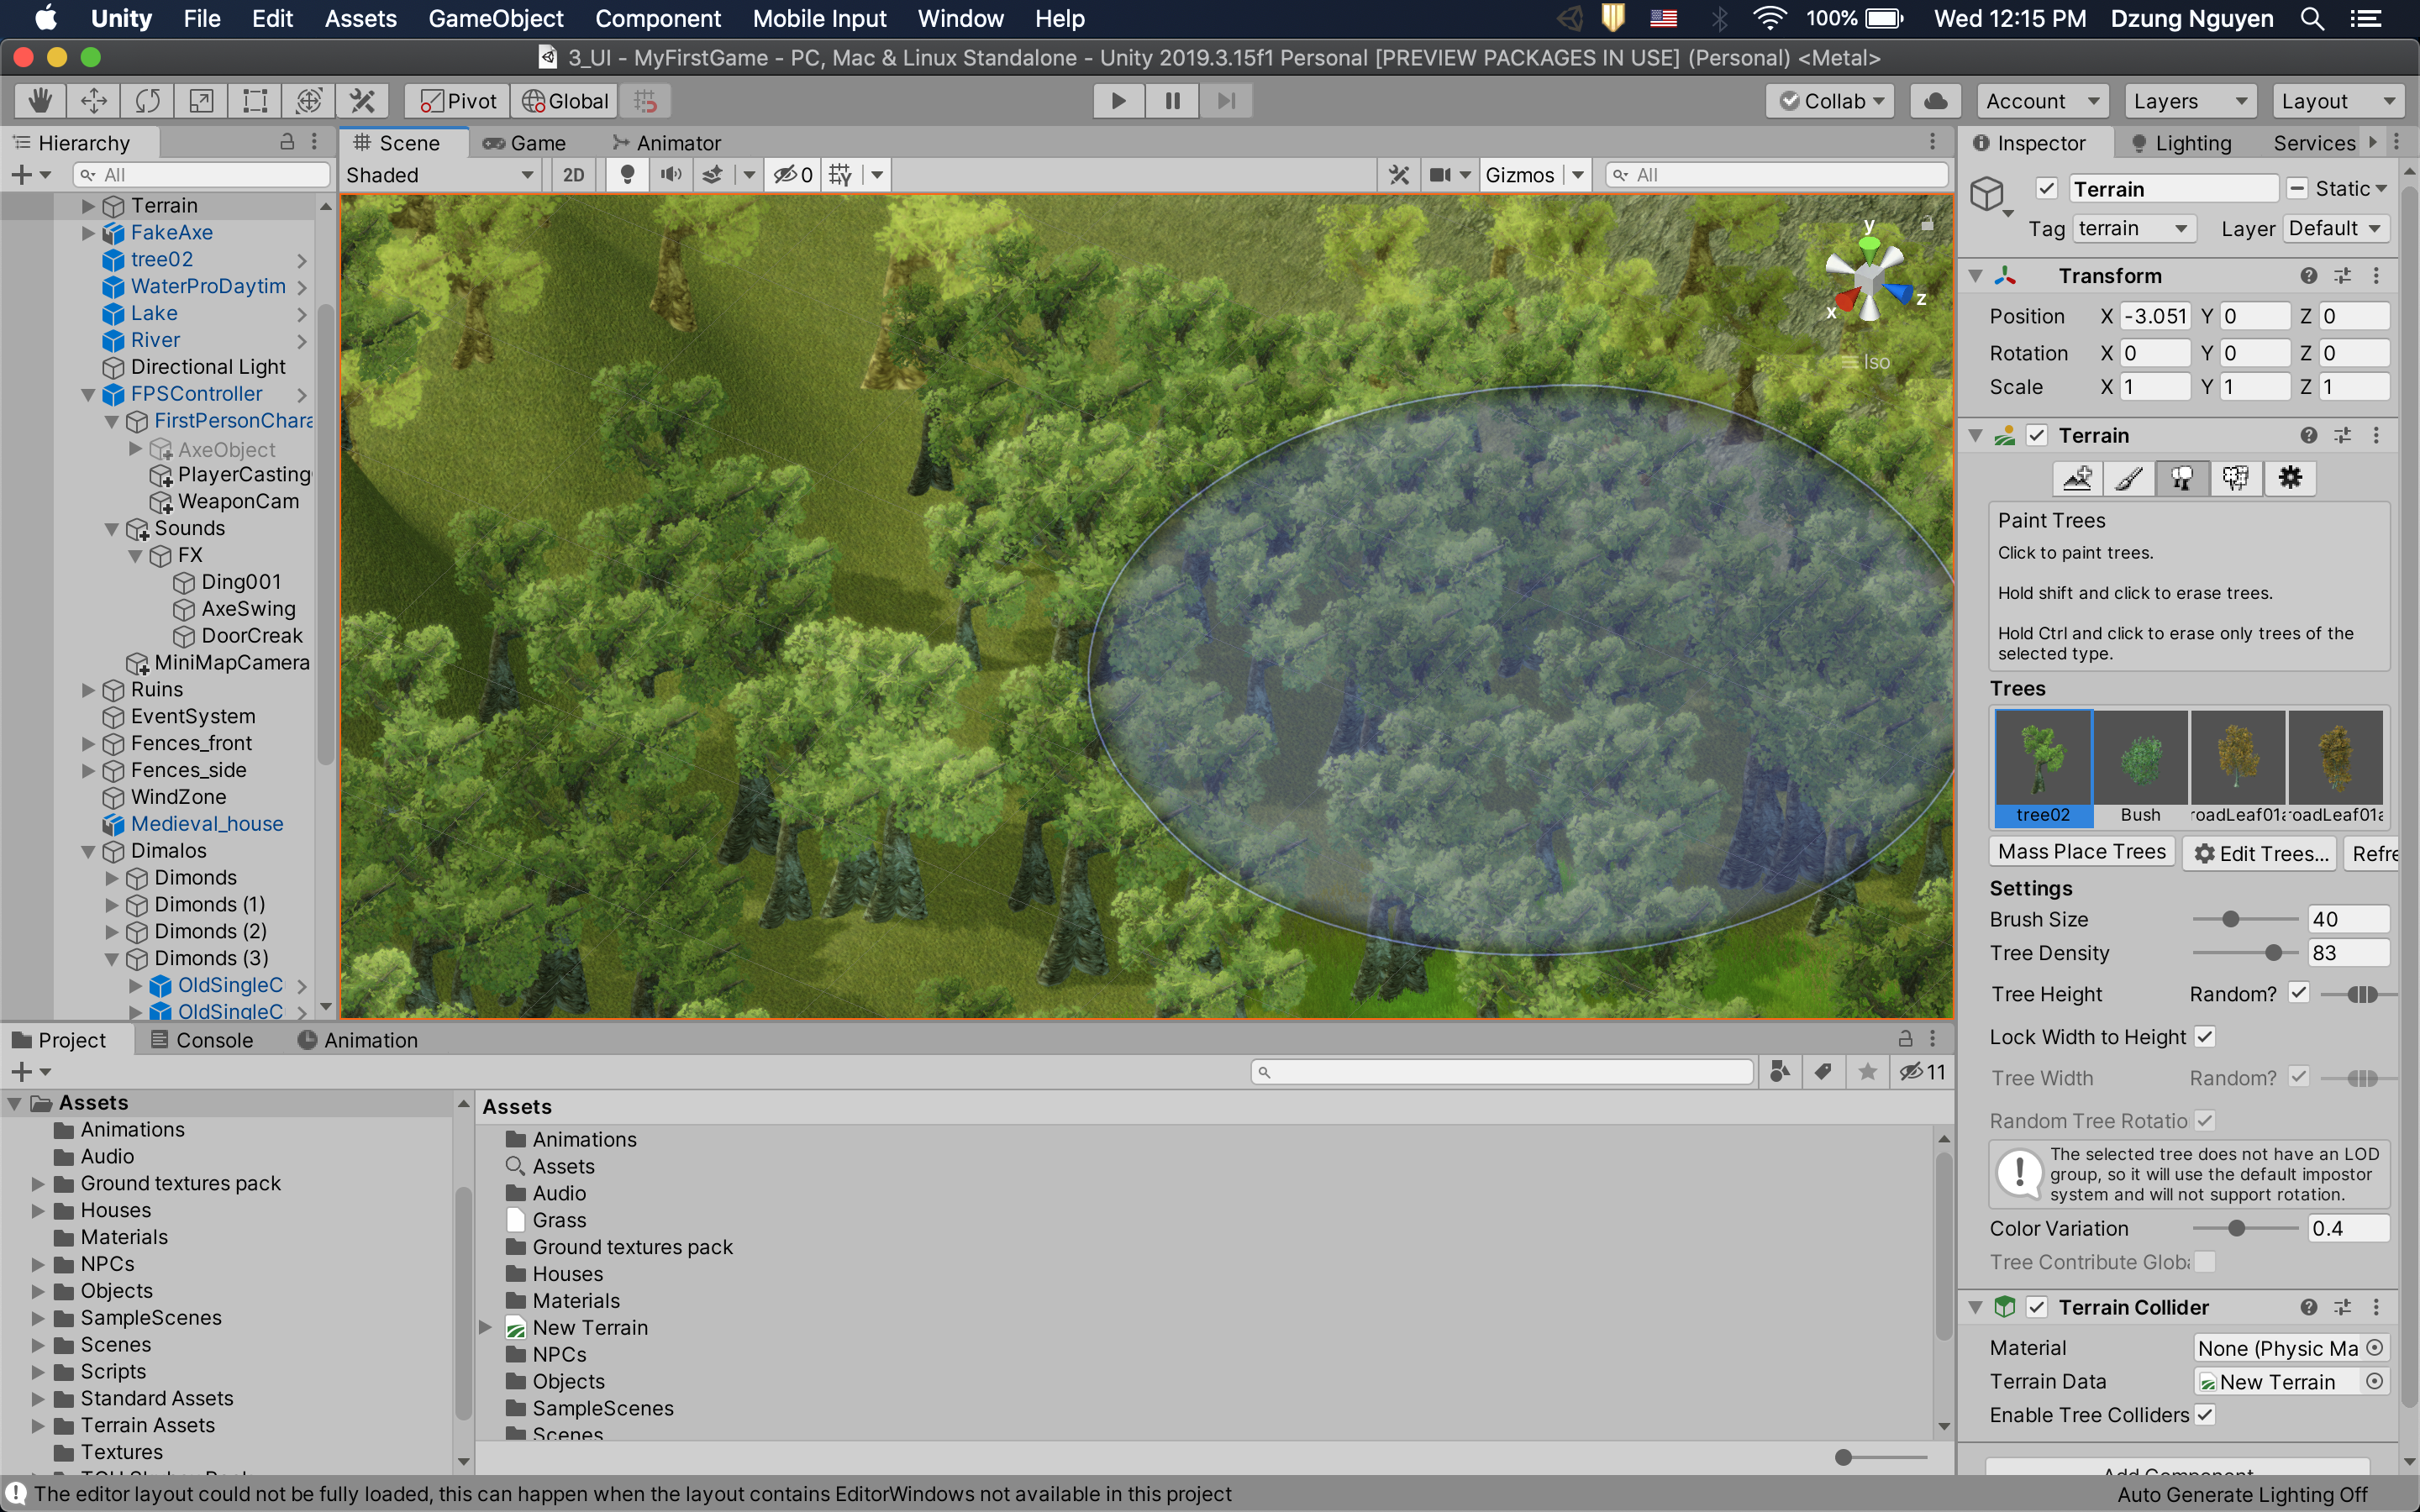
There are also settings that allow you to customize how your trees look individually. For instance, you can change how the height range of tree.
The terrain tree paint tool can be accessed by clicking on your terrain and going to the Terrain component in the Inspector, then clicking on the tree icon.
AI Target
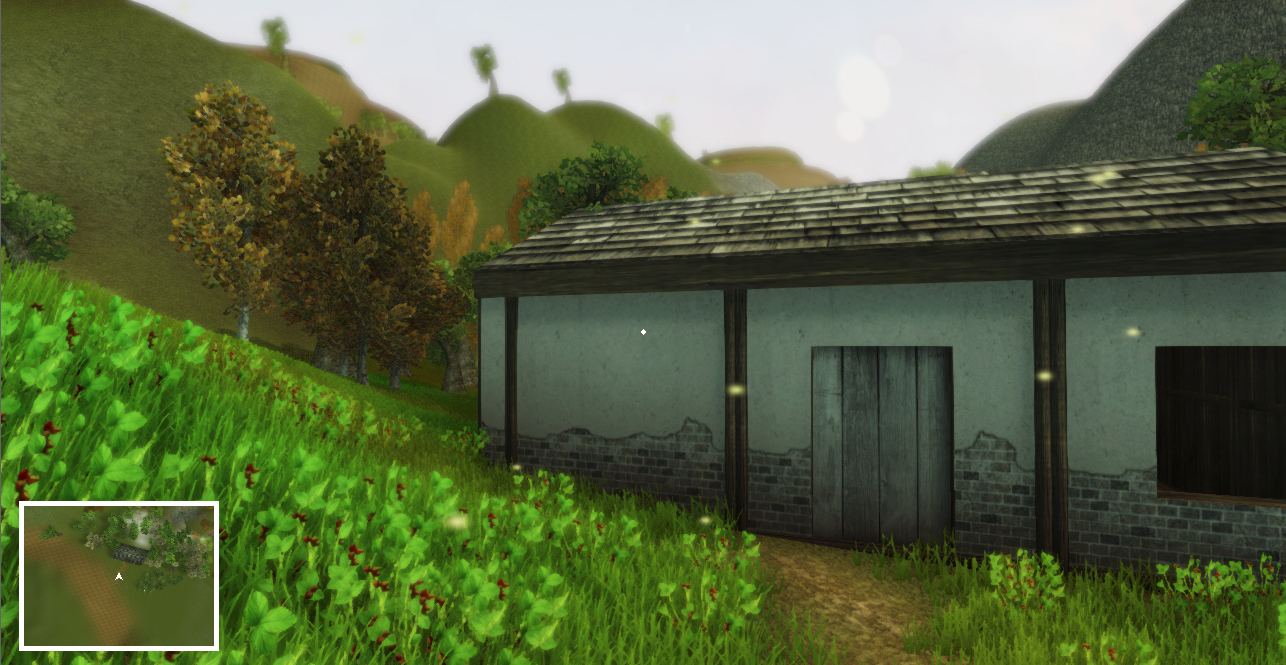
Another useful feature for controlling enemy/NPCs is the AI Target tool. This feature is achieved through coding, not the Unity GUI, though the code is not very involved.
The idea behind this script is that when a user (theDestination) walks within a boundary/region, the character we are trying to control with this script (theAgent) will move towards that destination or target. For this tool to work best, you should attach a walking animation to the character and make sure that you have baked your walkable area (see feature 1 above).
See a demo of the feature here.
As you can see, the orc avoids obstacles and move towards me (the player) when I’m within a radius of it. When I backed up outside of the radius, the orc turns around and goes back to its original position. Pretty neat right? I was very excited when I learned how to make NPCs move with scripting and even more excited when I know how straightforward the process is.
Post-processing
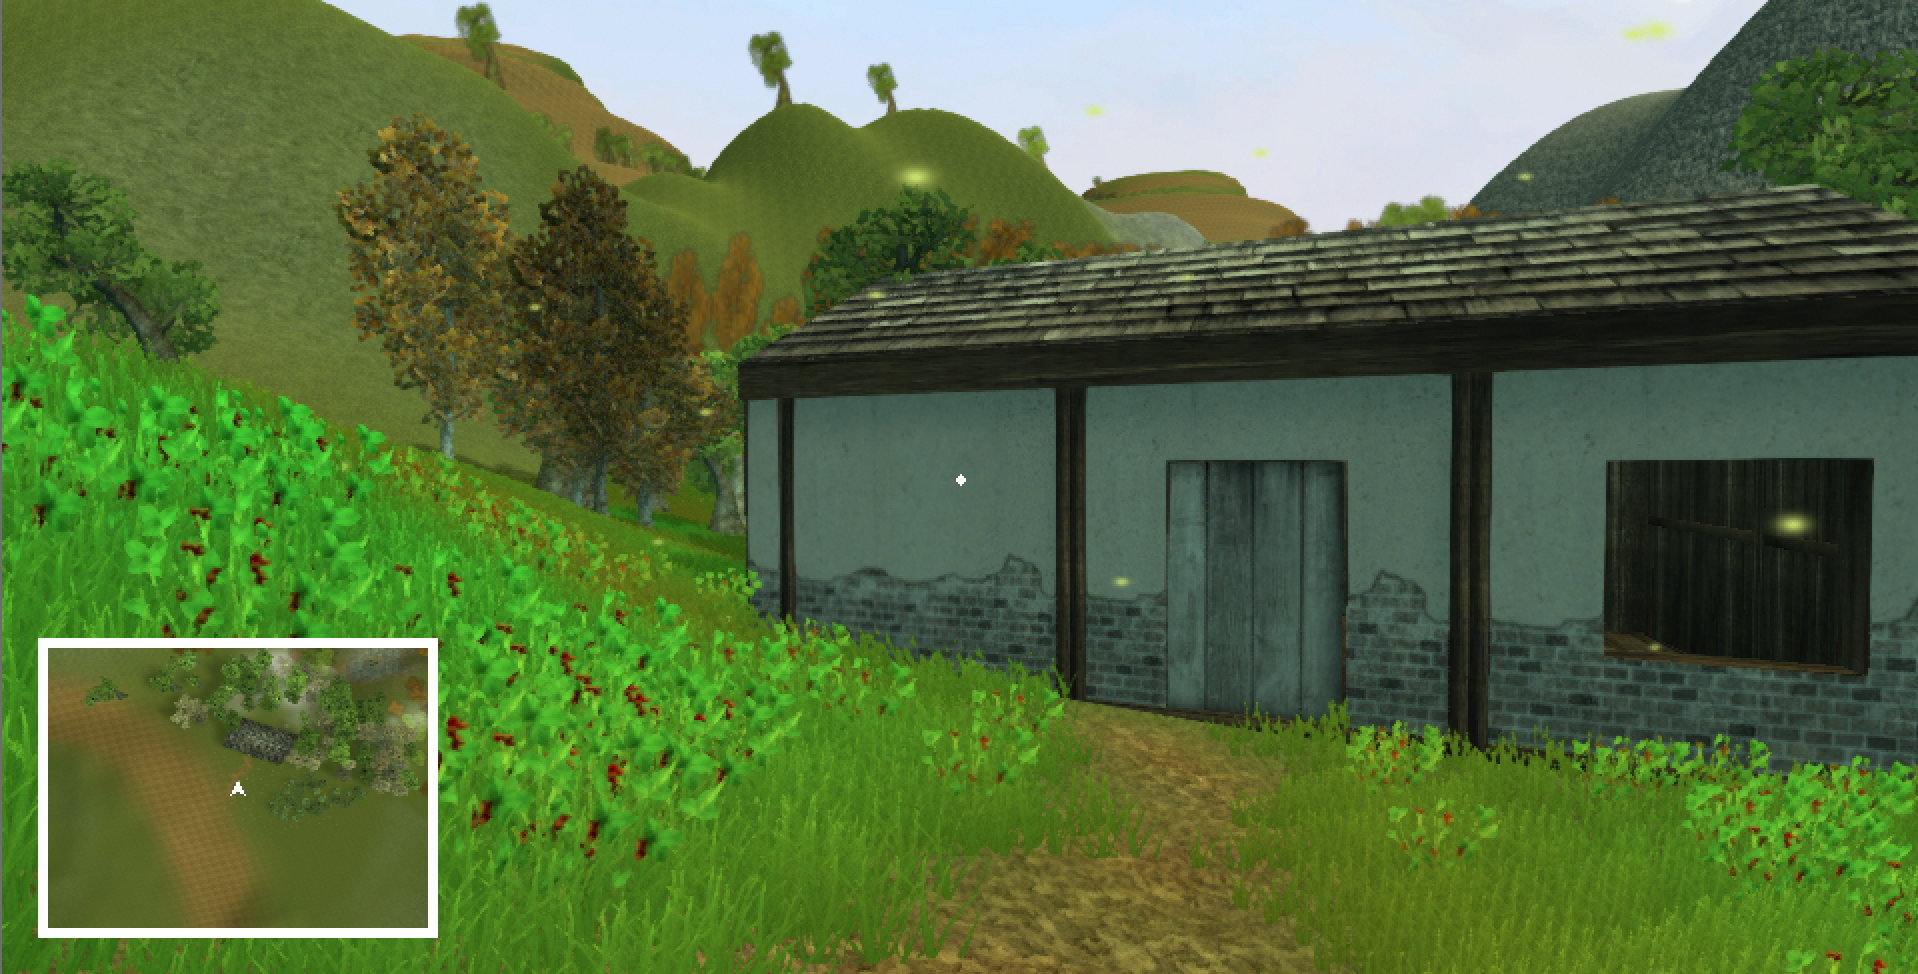
Recently, post-processing got added to Unity as a package that you can install from the package manager (without having to pull it from the asset store first, which is the case a couple years ago). This tool is one that, in my opinion, changes how the game look and feel the most out of all Unity tools. It acts similarly to a filter you would put on your snaps or Instagram pictures.
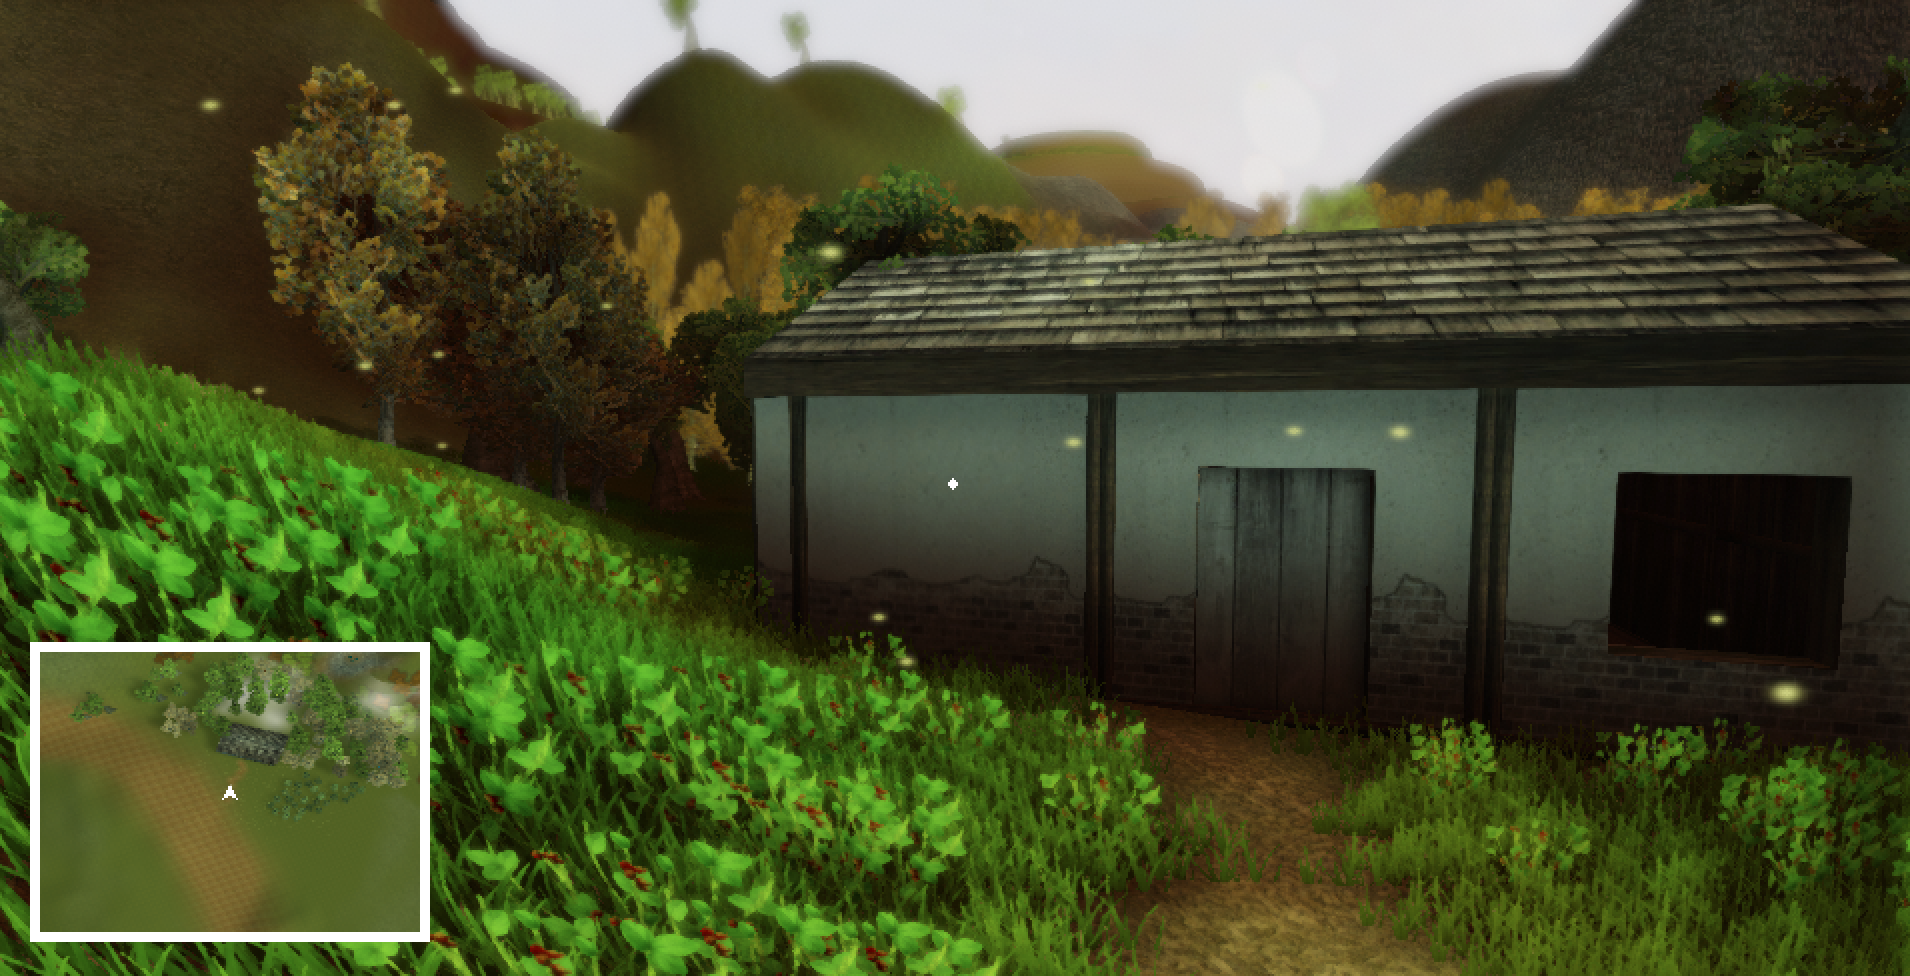
 No post-processing effects
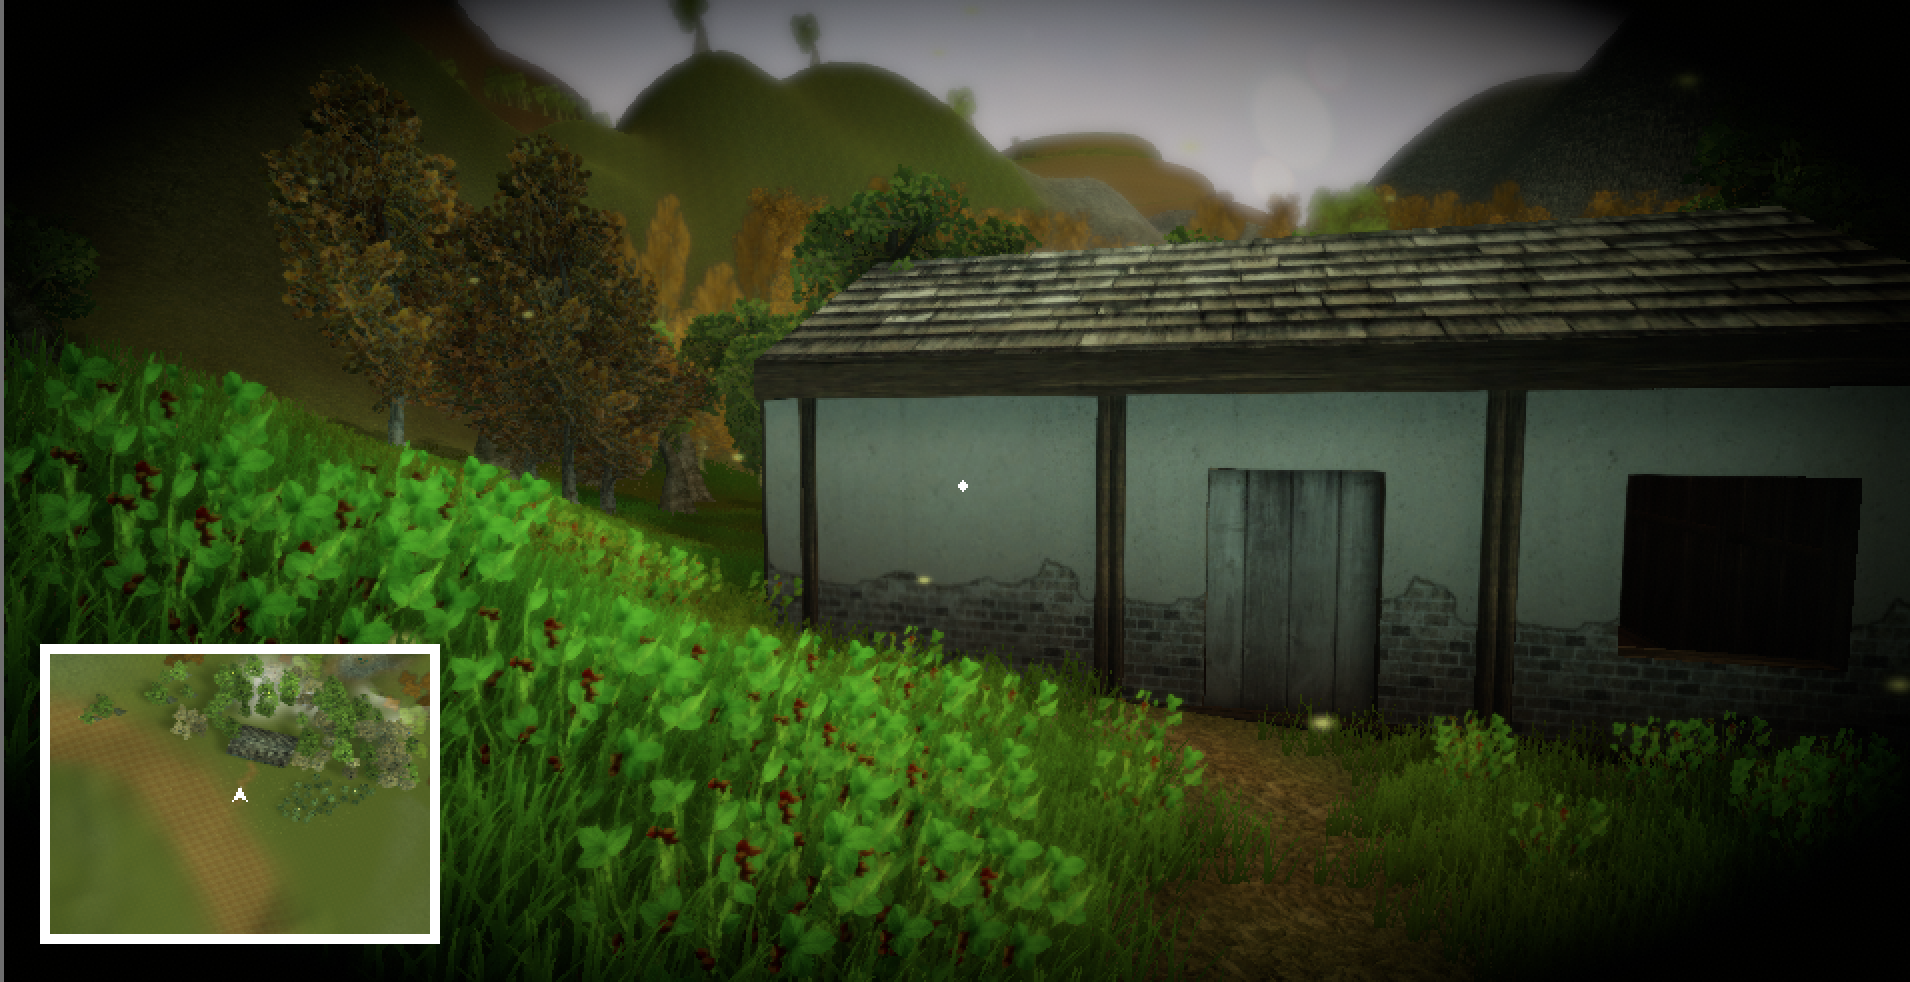
 High ambient occlusion intensity
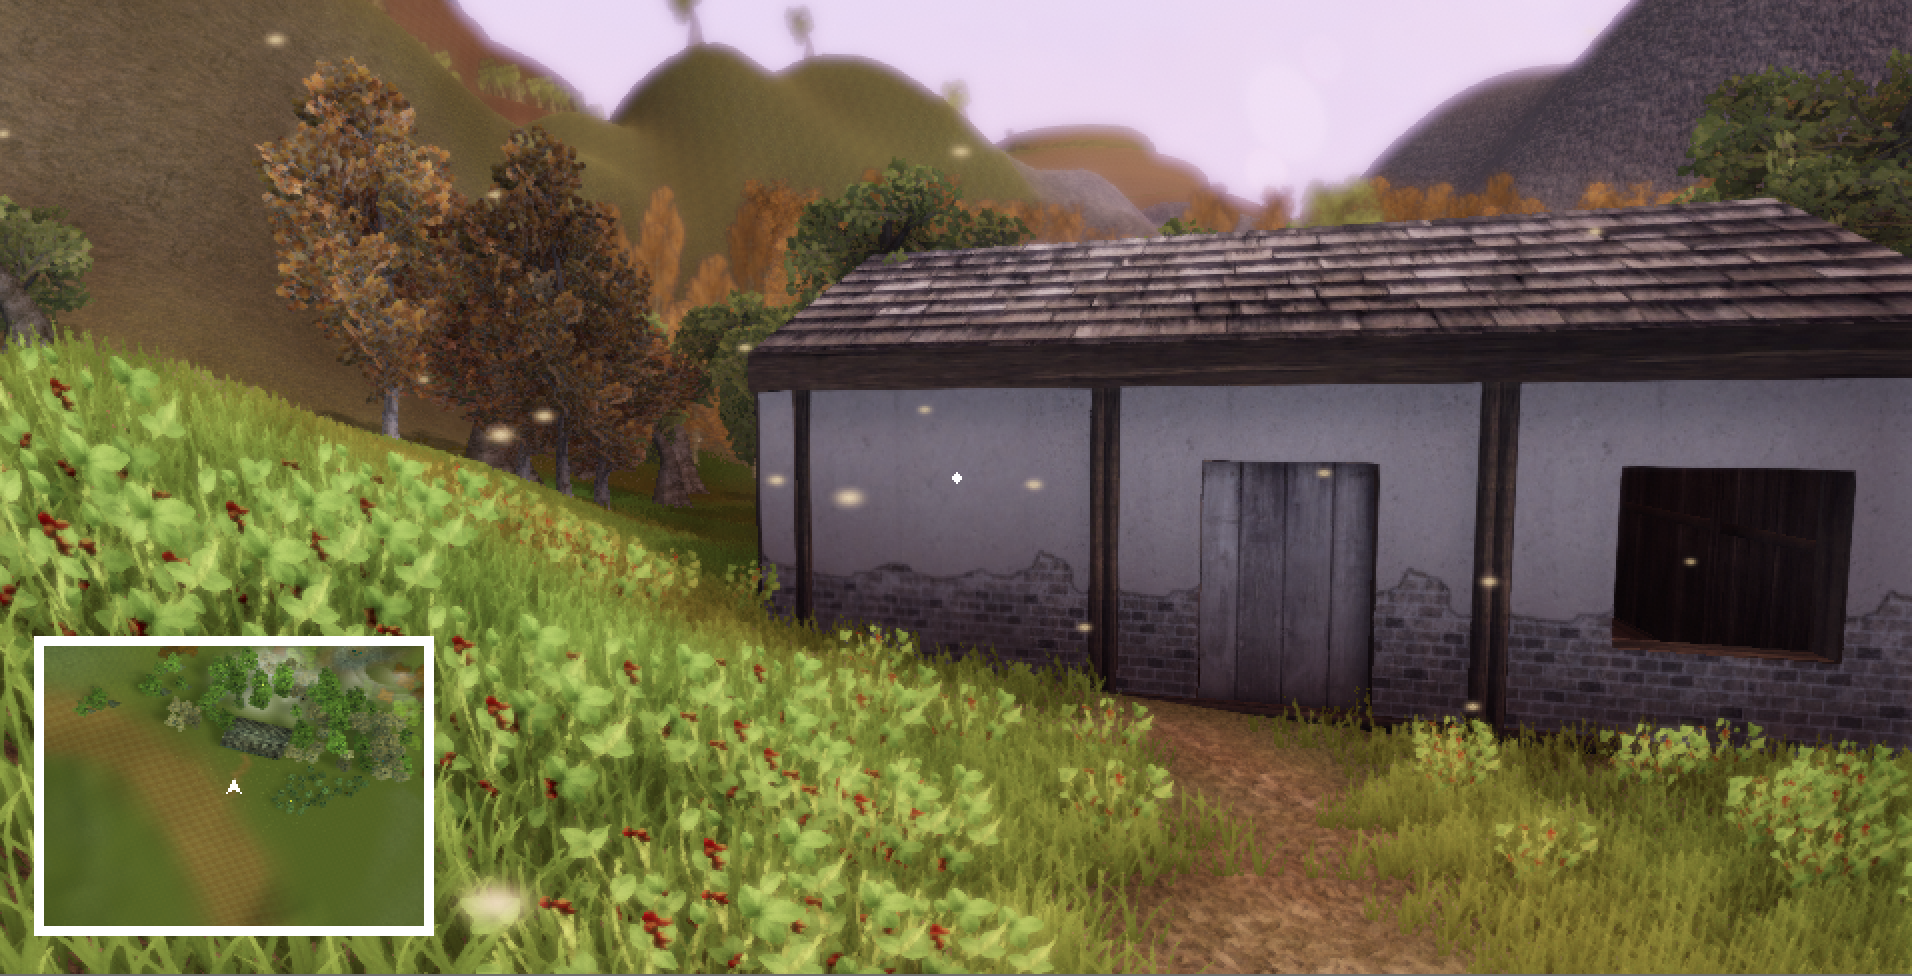 High tint value
 Vignette
The same scene in four different post-processing settings. Upper-left: no post processing. Upper-right: high bloom intensity. Lower-left: high tint value. Lower-right: high ambient-occlusion intensity.
I had a lot of fun playing around with the settings and seeing how my game world changed as a result. Post-processing can really set the mood and theme of the game. For example, if I wanted to create a horror game, I would crank up ambient occlusion and red hues/purple hues. This would create a dark and gloomy look.
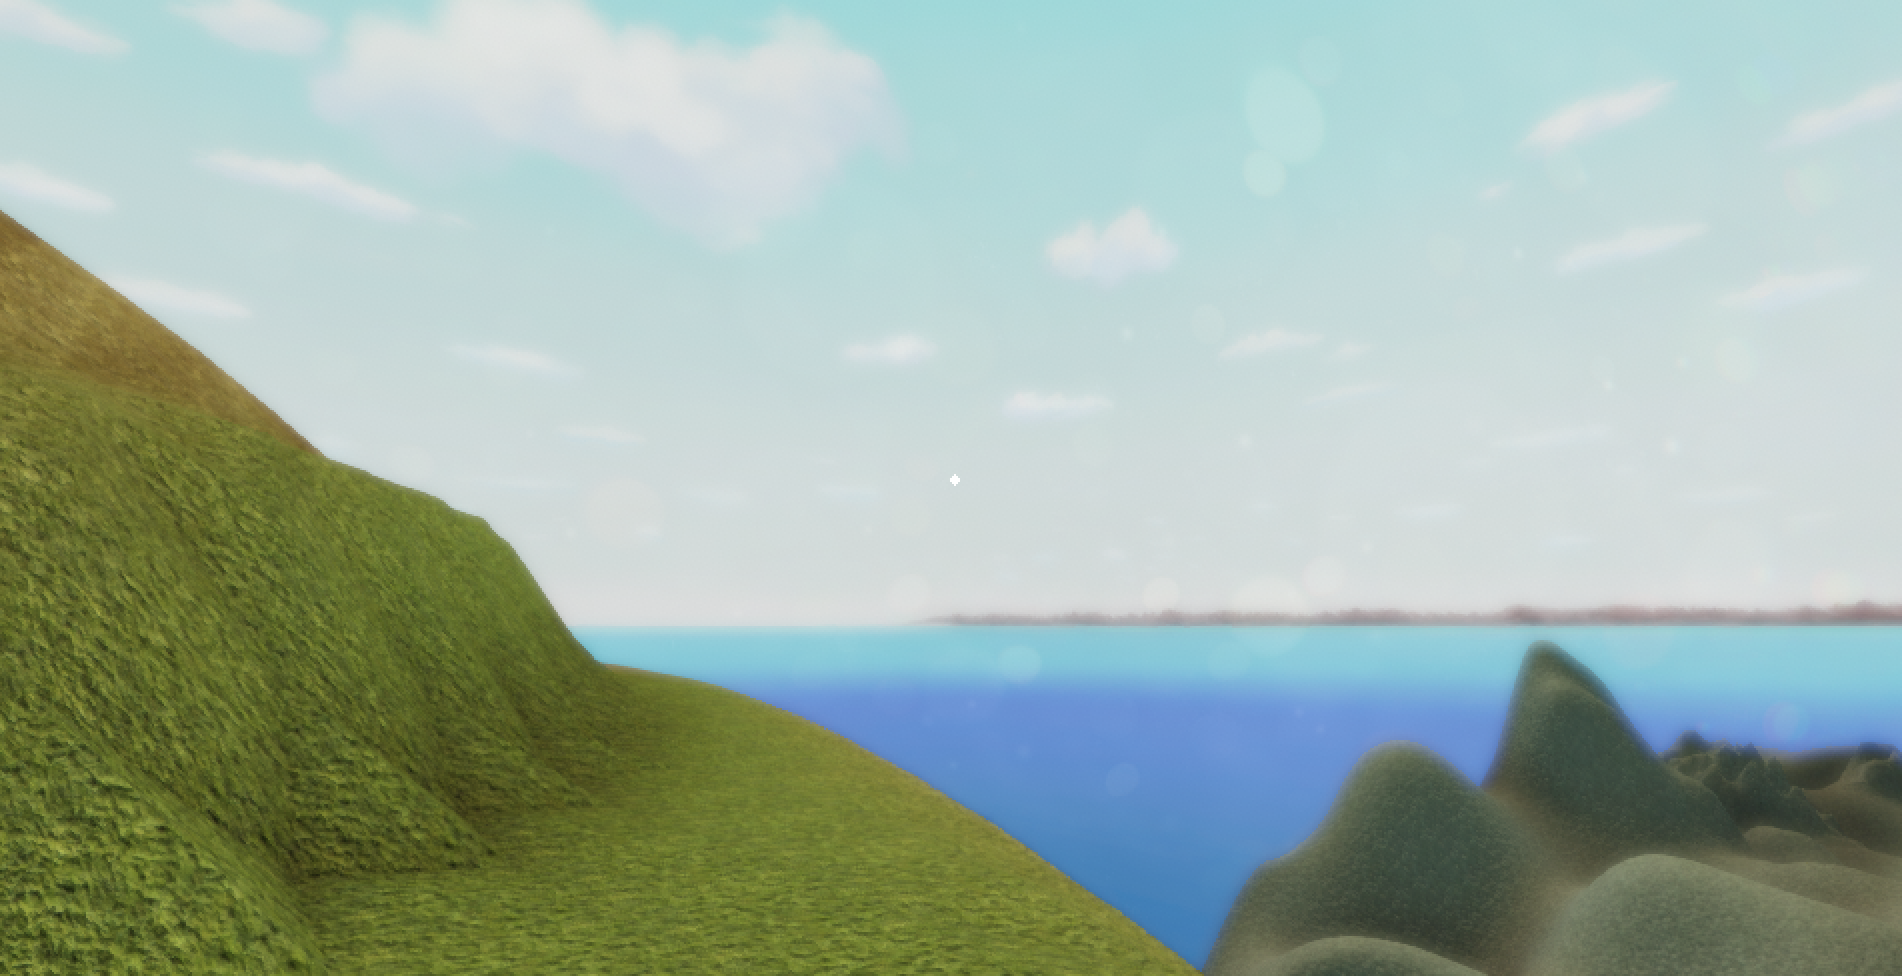
Skybox Material
Similar to the post processing tool, the skybox material can also contribute greatly to your game’s visuals. You may have noticed that the original skybox material in Unity is this boring half and half blue and grayish material. There are visually appealing skybox materials on the asset store, many of which are free to use. The skybox pack I used is called TGU Skybox Pack.
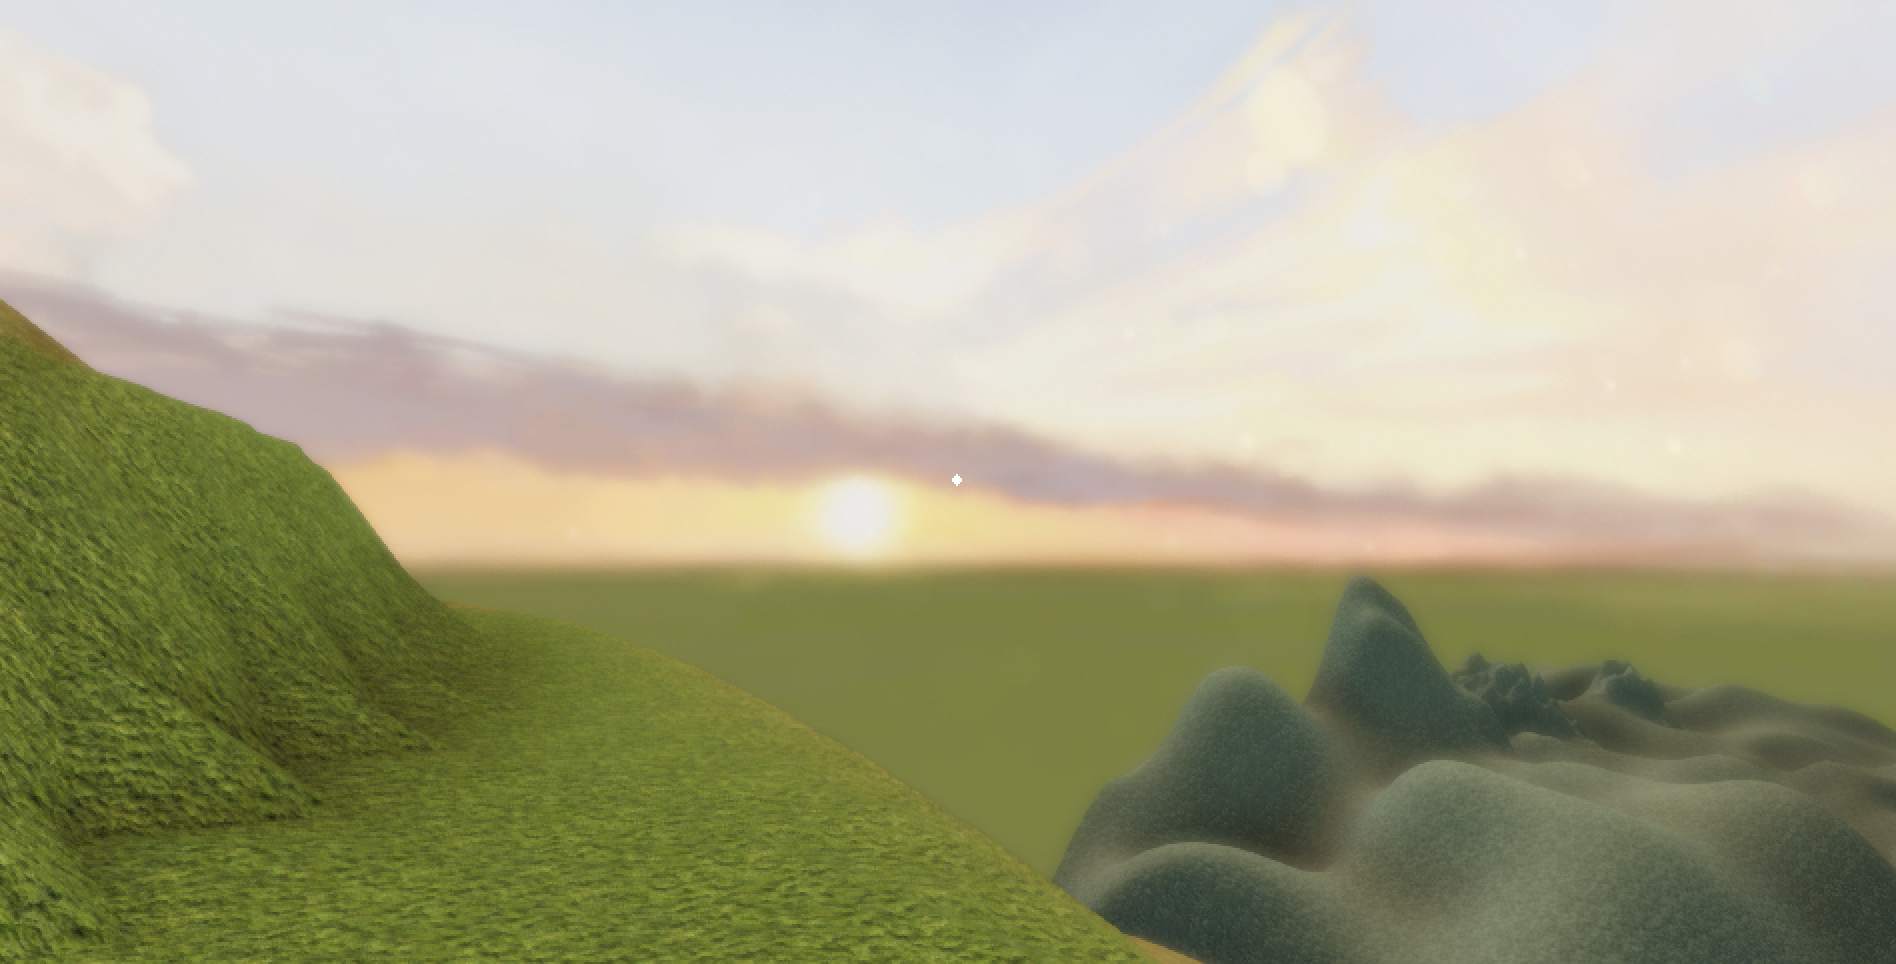 New dawn
 Nostalgia
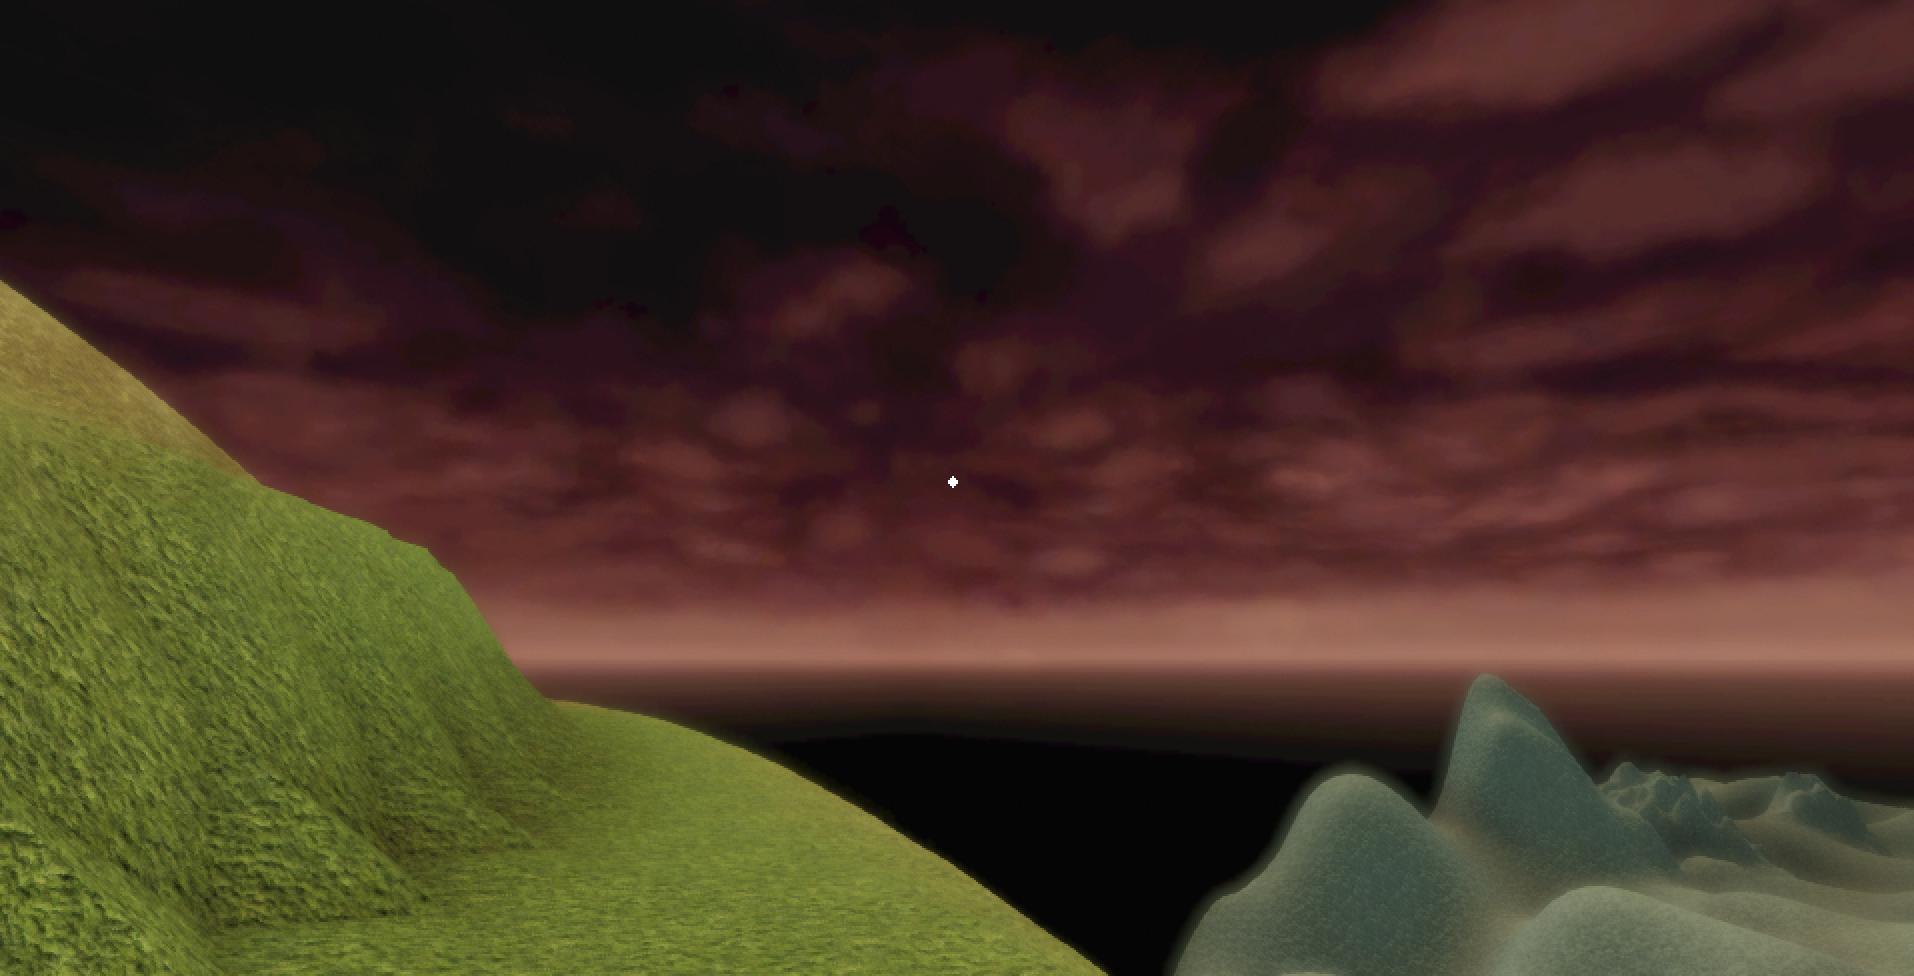 Doomsday
To access this tool, click on Window → Rendering → Lighting Settings. In the Lighting Settings panel to the right of Unity window, you will find the first option is skybox material. This is where you can load your skybox of choice! There are many tools that I found useful and are not on this list. Unity is filled with surprises and functionalities, so the best way to discover them is to start your own project!